
Here's an overview about saddlebag holders installation.
We cannot go into full details here, as the process differs from one motorcycle to another. But these few principles should help you get a clear idea about the subject.
What is the difference between spacers, saddlebag holders, rails, etc?
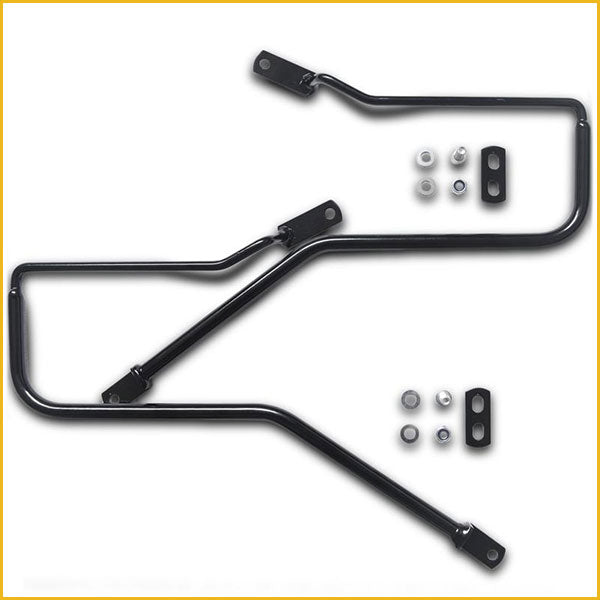
By saddlebag holders, we mean any frame which purpose is to support saddlebags. Pannier rails, spacers, brackets... it all designate the same thing.
We call them "saddlebag holders" because it's a straight-forward term. But we also call them "spacers" sometimes.
You will find different terms designating the same piece of equipment. Saddlebag holders is explicit, but spacers is nice and short, which can be useful on websites, that's why we tend to use both.
Why do we need them?
As standard, manufacturers tend to sell their motorcycles without saddlebag holders to lower the costs, because they know that not everyone will require saddlebags. To be fair, many riders only need a backpack for their commute to work.
However, it's tricky to install saddlebags safely without spacers.
Whether you're camping over the weekend, or overlanding for several weeks, you'll need a secure setup on which you can rely.
Thankfully, pretty much all motorcycles have mounting points that are designed to be repurposed for spacers fitment.
So it's not that manufacturers don't care about cargo capacity, they just don't implement it fully to lower the costs initially, and let customers who'll need that cargo capacity, find a solution later on.
If you're wondering wether you can have saddlebags without spacers, we've written a short piece about that. And the answer is, yes sometimes.
How do I install saddlebag holders on my motorcycle?
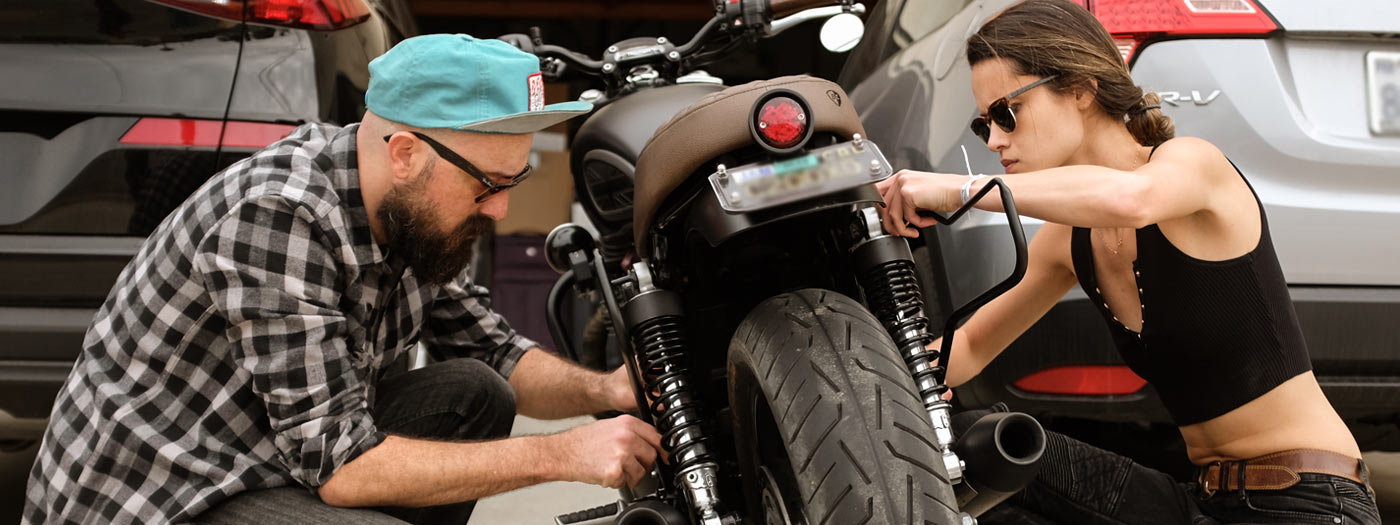
Many Longride customers do it themselves, which proves how straight-forward it is, most of the time. However, we encourage you to ask your local garage for help if you're not 100% sure, plus, some models require a bit more work, like relocating the blinkers.
Two anchor points.
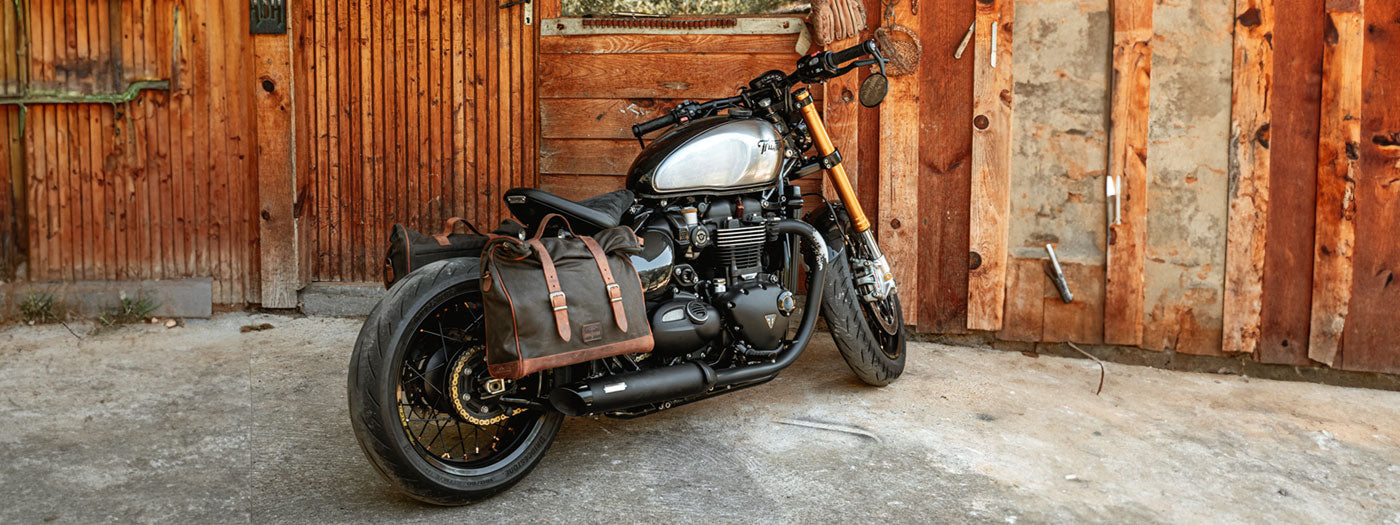
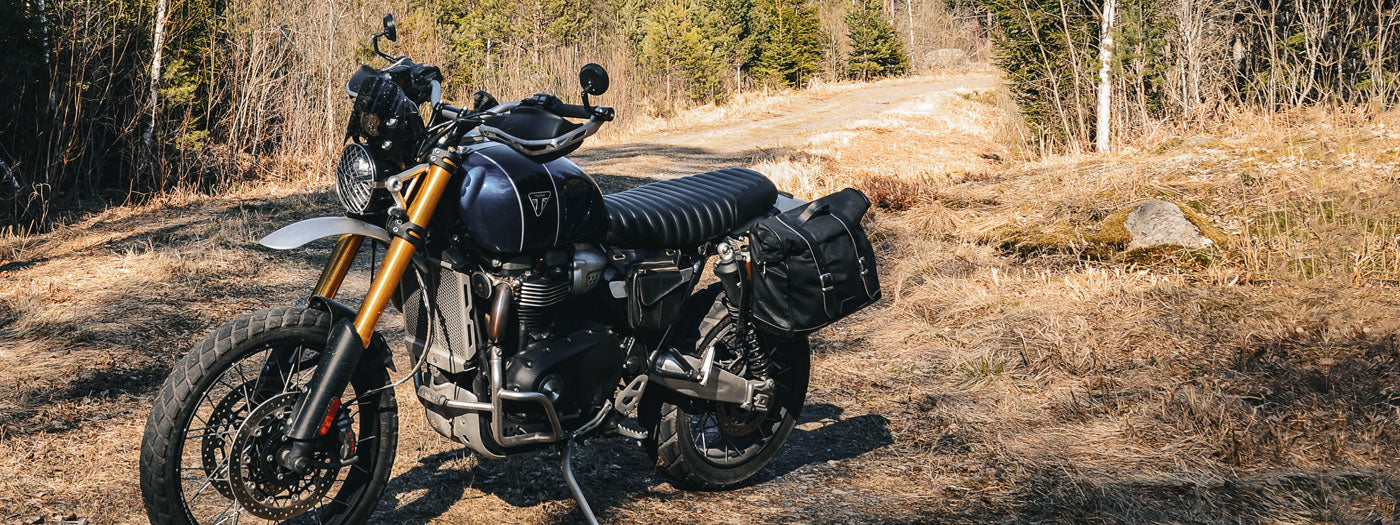
In most cases, it only takes 2 mounting points. These will likely be the top bolt of the shock absorber, and the bolt behind the passenger foot peg or a bolt nearby, on the silencer bracket for example. This is the case for all classic Triumph's motorcycles, as illustrated on this video and also the Moto Guzzi V7 and Royal Enfield's.
On older Bonneville's, it might be on the top shock, and another bolt beneath the seat, although this is more unusual.
On the Ducati Scrambler you'll find the two mounting points in line below the seat.
On all Harley Davidsons, and the Honda Rebel for which we developed spacers recently, the two mounting points are in line on the rear fender.
All it takes in general, is unfastening two bolts, aligning the bracket, and fastening back the bolts using torque tightening and a thread lock - if we're working with the top suspension bolt. Note that sometimes, the original bolts need replacing with new longer ones that will be provided in your kit.
From there, you might find that you need to do various little adjustments.
One interesting aspect is that saddlebag holders can initially be "forced" into position if need be. They can give a little upon first installation and remain perfectly solid.
Check the center-to-center distance.
To further make sure that a spacer will be compatible with your motorcycle, check the center-to-center distance between the two mounting points.
This is an information we try to always provide on the product page, under the '+ details' tabs. If not available, we can provide that information through email.
The measurement must be taken from the center of one mounting point, to the center of the next. When the bracket mounts on the top shock and the bottom foot peg, you can add a few millimetres to that measurement to account for the bracket's flexibility.
Blinkers relocation.
If you motorcycle has blinkers fitted on the rear fender, in line with at least one other bolt, chances are, it is occupying one of the two mountings points that are to be repurposed for the saddlebag holders.
This is the case on most Harley's. Fear not, our brackets have extra mounting points to relocate the blinkers slightly further back.
So the forward mounting point will align with a bolt that should be free. The back one will take the spot currently occupied by the blinker, and the blinker will attach to a third mounting point further back on the bracket.
Are saddlebag holders from all manufacturers ultimately the same?
Yes and no.
Since all saddlebag holders rely on the same two mounting points, you could think that they will all look the same. And you might be wondering if you can attach Longride saddlebags to saddlebag holders from other brands, or vice versa.
One frame can be designed in multiple ways, and sometimes, it is custom-made for specific mounting systems.
But the
LOXX, and the
SADDLEBACK mounting systems are in essence, universal systems that can adapt to various frames.
So it's not crucial to have Longride spacers for these systems. What matters is their practicality. Rails tend to work best, although some customers manage to mount their Longride saddlebags onto their plate frames as well.
When it comes to the
SIDEKICK system, not all saddlebag holders were created equals. The clamp from that system needs a standardised frame (distance between the tubes, and tube's diameter are of paramount importance).
To enjoy the
SIDEKICK system, you will need Longride spacers, specifically.
Otherwise, feel free to shop around for spacers that'll work for you, onto which our LOXX and SADDLEBACK systems can adapt.
We hope this read will be useful to you.
Remember to read all the informations available on our individual product pages. We give a list of compatible motorcycles, the center-to-center distances and indications regarding the two mounting points any particular bracket relies on. If anything's missing, hit us with your questions at shop@longride.com.